Creating Resources
How to create and configure resources
This page walks through creating and configuring resources.
During Onboarding
Resources are created during the Configure Resources step of onboarding. You'll see a table where you can add resources and set their availability.
After Onboarding
To create a resource:
- Go to Settings → Resources section
- Click the + Add button
- Fill in the resource details
- Save
Tip: Use the command palette (Cmd+K or Ctrl+K) and search for "Add Resource" to open the create dialog directly.
Resource Details
When creating a resource, you'll configure:
Name
- Name - Display name shown in calendars and bookings (e.g., "Consultation Room 1")
Resource Kind
Choose the category for this resource:
- Room - Consultation rooms or treatment spaces
- User - Pharmacists or staff members
- Device - Equipment or facilities
Resource kinds with type "User" can be linked to a user account in Light, indicating the resource represents that person.
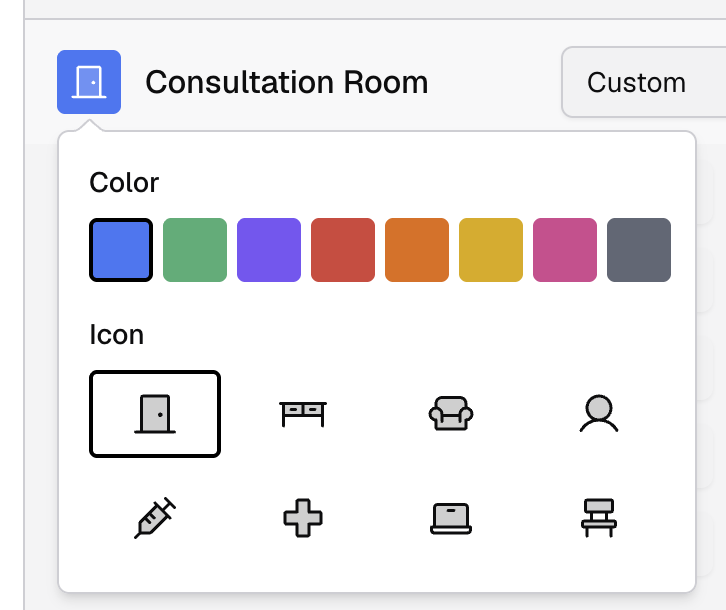
Colour and Icon
Assign a colour for display in calendars and booking interfaces. Click the colour square to choose from the palette.
Tags
Optionally add tags to describe the resource's capabilities — like "full-scope-pharmacist", "private", or "has-bp-machine". Type in the tag field to see suggestions from existing tags at your site, or create a new tag by pressing Enter.
Tags are used by services with the Dynamic availability mode to automatically match resources. See Resource Tags for details.
Availability Mode
Choose how the resource's availability is determined:
- Follow Site - Use your site's trading hours
- Custom - Define a specific schedule for this resource
See Availability Modes for details on when to use each option.
Constrained by Site Hours
By default, resources are constrained by your site's trading hours. You can opt out individual resources from this constraint if needed (e.g., for virtual consultations outside normal hours).
Updating Resources
To update a resource:
- Go to Settings → Resources
- Click on the resource in the list
- Click the Edit button
- Make your changes and save
Deleting Resources
To delete a resource:
- Click on the resource in the list
- Click the Delete button
- Confirm the deletion
Bookings connected to a resource that is deleted will be orphaned from that resource, but still remain.
Linking Resources to Service Offerings
Resources are linked to service offerings from the service offering configuration page. See the Service Offerings section for details on linking resources to service offerings.